

My Journey Into Custom PC Building
Building a custom desktop computer encompasses a rewarding journey that offers numerous advantages over purchasing pre-built systems. The decision to embark on this project stemmed from a deep-seated interest in technology combined with the desire for personalization. I had always wanted to personally build my own custom PC ever since I ordered a custom build computer from Cyber-Power back in the early 2000s.
One of the most compelling reasons for venturing into custom PC building is the opportunity for cost savings. By purchasing components separately, it is often possible to secure higher quality parts at a lower overall price compared to retail prices of pre-built systems. The sight of seeing a computer that was put together with the specific parts that I picked was exciting to me. Since I had been able to swap out memory, hard drives, and graphics cards from previous computers that I had on my owned, I felt that I should have no problem being able to do everything from “Start to Finish”
Choosing the Right Components

Building a custom desktop computer requires careful thought and planning, particularly when it comes to choosing the right components. Each part plays a vital role in the overall performance and functionality of the system. Initially, I began my research by identifying the primary components essential for my build: the CPU (Central Processing Unit), GPU (Graphics Processing Unit), motherboard, RAM (Random Access Memory), storage, power supply, and case.
The process of picking out the right components took several months just to make a decision. The goal was to build a budget to mid level gaming system that could compete with the Xbox X and Playstation 4 gaming consoles. I also wanted to stay under or around a budget of $600.
I used websites like PC Part Picker, Amazon, Ebay, and Microcenter. PC Part Picker allowed me to see what compatible parts would fit the build that I wanted. It even gave me ideas on potential builds with their builders guide. I used Amazon and Ebay to look up prices for components and since I lived near a MicroCenter, it allowed me to physically look at and touch the parts that I was interested in before even making a purchase. This is very important because pictures can be deceiving.
First, selecting the CPU was crucial, as it serves as the brain of the computer. I was pretty much set on AMD over Intel because of the price to performance was hard to beat. Also I was partial to AMD since the computer that I bought from Cyber-Power had an AMD CPU in it. Having a MicroCenter nearby was a blessing because they are always running a combo sale of CPU and Motherboard.
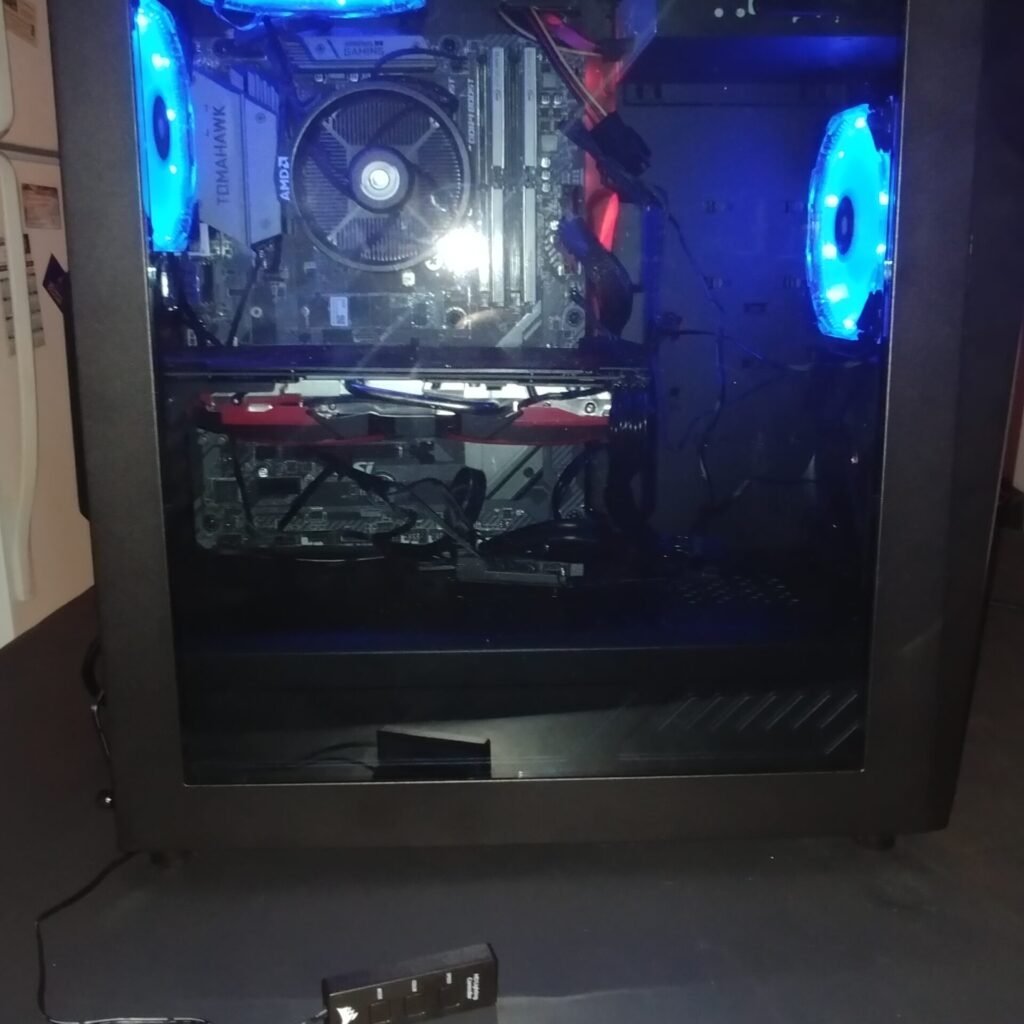
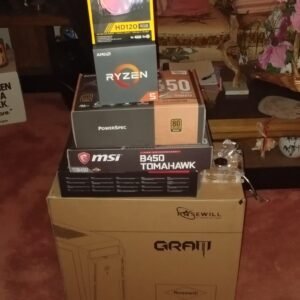
After months of research and window shopping I had finally decided on the CPU which was a AMD Ryzen 5 2600 and I combined that with a MSI B450 Tomahawk motherboard. I chose this motherboard because of the red and black look and it had the features that I wanted. Features such as 4 Dimm slots, NVme slot, 6 Sata ports, and the ability to enable virtualization. All in for this combo it was around $300.00
Choosing the GPU (graphics card) wasn’t an easy decision since at the time graphics cards were at an all time high and good ones affordable ones were scarce. I needed something that could play games at 1080p with no lag. I was able to purchase a used MSI Radeon RX 570 off of Ebay for a about $100.00. I also like the card because it was red and black and it fit the color scheme of the motherboard I just purchased.
After getting the motherboard, CPU, and GPU it was on to the case. Selecting the right case is crucial because you not only want a case that looks good but it needs to be able to fix all of your components and give you enough room for future expand-ability. Since this was my first build I wanted to go with a case that you can see inside and have the ability to incorporate RGB fans and lights. Turning to Amazon I went with Rosewill Graph with was a black and red case. Cost = $80.00
Once I got the case all the other components were easy to select. I purchased a PowerSpec 650 power which was $60.00 from MicroCenter. The primary and secondary hard drives were Inland Professional NVme 1 TB $30 and Samsung EVO SSD 500GB $80 both from MicroCenter. All other necessary components I already had in my possession from previous computers.
Putting It Together
Am going to spare you the trouble of reading a detailed account of the assembly process of putting the computer together. However I will say that even though the process was not hard, it did take longer than I previously estimated. I thought that it would take about 1.5 hrs to complete maybe closer to an hour.

It actually took a little over 3 hours to complete and here’s why.
The most problematic issue I had was connecting the I/O and fan connectors to the pins on the motherboard. These pins are so damn small and close together that if you are not carefully can either put them in the wrong space or worse bend / break the pins on the motherboard. I was a good thing that having the motherboard manual available prevented me from making a huge mistake.
The other issue I had was cable management. Now I can admit am not the best at managing cables and I’m kinda of jealous of those that make it look easy and the cable look nice and pretty inside the case. Since this was my first build I just wanted to make sure that the computer worked so I figured I will make it look as nice as I can now and do the reorganizing later. Besides I have come to learn that now all cases and components are created equal and depending on what you choose it can be a pain to build with.
Testing

Now that I have finished the build it was time to test to make sure everything was working as intended. I fired up the new assembled machine and I was able to boot right into the BIOS.

The next day I decided to install a fresh copy of Windows 10 and configured the OS to my liking. Everything worked fine as well. It was a blessing that everything worked as intended on the first boot up. I have heard horror stories of people having issues with DOA (dead on arrival) components or wrong connections etc.
What I Learned
Building my first computer as a rewarding experience that I would never forget. It gave me the confidence to know that I can build another one if I chose to. I also learned that I will never buy a pre-built system again. Well let me not say never because depending on the price and what components are inside, I could buy one but it is unlikely.
Being able to select the components that you want is what the process of building a custom PC is all about and I understand that now. Before I would just see people and think to myself why waste all that time, just to do it again in about a year’s time for new parts. But with the age of PC gaming and video editing it makes more since now. Computers are getting faster everyday and so to be able to keep up you have to be continually upgrading.
Am already formulating plans on my next build with even more hard drives and RGB fans. I just now have to figure out what I want, do I want to switch to Intel over AMD, what type of case, and what type of motherboard (ATX, Mini etc). I just hope that this doesn’t take several months to decided like my first build. You can only hope right?